Adding a utility sink to your laundry room, garage, shed, or even your kitchen is a fairly easy way to make access to water a lot easier. The best part is that you can get all the pieces you need to put in a sink on your own pretty cheaply, assuming you already have water and drain access. Let’s take a look at a few things to look for.
Where Is Your Sink Going?
If this is a sink that is going to be in an unheated area, be sure to use insulated pipes. Freezing could cause the pipes to burst, leaving a mess. More often than not, however, you’re looking to add a utility sink in an area that doesn’t really ever drop below freezing, like your laundry room. Let’s take that as our example.
You should try to locate it in the room at or near an existing water and sewer line. If you do not, it can be quite expensive to add these pipes and this work does begin to stray away from the DIY space.
Once you’ve located your spot, measure how much space you have to work with and head to the home improvement store. You’ll need a few things:
- The sink itself – Generally, utility sinks come separate from their bases. The sinks found in local home improvement stores are generally a highly durable plastic that fits atop a stand or vanity.
- Stand or vanity – the sink isn’t going to hold itself up! Be sure to grab something that matches the look you’re going for. If your laundry room is tucked away and looks don’t matter so much, some simple legs will do the trick.
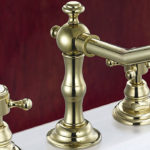
- Faucet – Utility sinks don’t come with faucets – be sure to grab one that meets your needs and ensure that the sink and faucet have matching hole configurations.
- Drain and valve parts – This will be highly dependent on the setup of your home, but you’ll want to ensure that there are valves to control the flow of water from the main water line to your faucet and enough pipe for drains to your waste line.
- P-trap: Make sure you leave enough room for a p-trap. A p-trap is simply a piece of piped shaped like the letter which serves two main purposes. First, it always has water in it from your faucet, so it keeps sewer gases from flowing back out of your sink. Second, the trap makes a natural fall for any larger objects that fall down your drain like rings, rocks, or other items. It makes for easy clean out.
- Be sure to consult YouTube, This Old House or any of a number of other videos for step-by-step instructions on how to install.
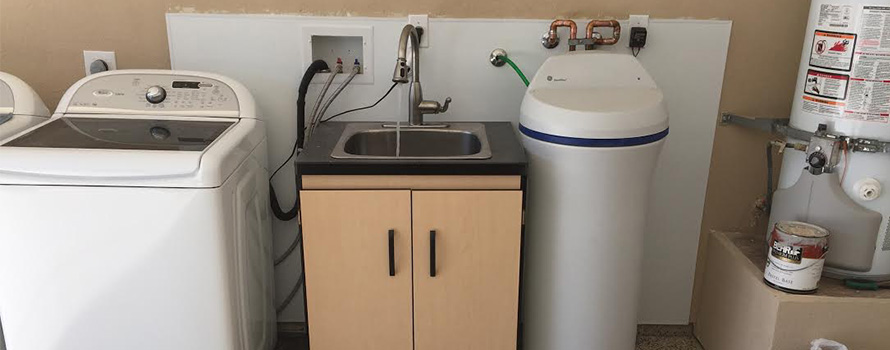
Once you have your parts, you’ll want to measure and fasten your pipe pieces, rough fitting them into place before you place the vanity and sink against the wall. Once everything looks solid, slide your vanity and sink into place and hook it up. You’re all set!
This may seem like a big job, but it doesn’t have to be. It’s even easier if the hookups and drains already exist. Simply unscrew and remove the current sink and replace it with a new one. As always, if you have questions or get stuck, it’s best to contact a licensed plumbing professional. Whether you’re located in Manteca or Mountain House, Simpson Plumbing can help.